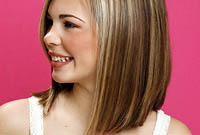
Straightening your hair or creating Curls and Flicks can be difficult and also very damaging. So, TheHairStyler.com has put together a step-by-step guide to help you get the best results while doing minimal damage to your hair.
What You'll Need
- A Wide Tooth Comb
- A Hair-dryer
- A Straightening Iron
- Hair Moisturizer
- A Tail Comb
- Butterfly Clips
- Thermal Protection Spray
- Straightening Balm
- Smoothing Shine
- Hairspray
- A Paddle Brush
Straightening Your Hair
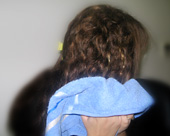
Step 1 - Shampoo and condition the hair and then towel dry.

Step 2 - Apply a small amount of straightening balm and a small amount of hair moisturizer to the mid-lengths and the ends of your hair. It's important to make sure that you do not get any straightening balm on your roots as it will be heavy on the hair and will make it look oily. Using your wide tooth comb, comb the hair so there are no tangles.
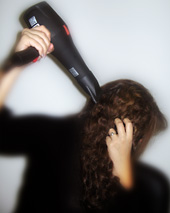
Step 3 - Your hair needs to be dry to use the straightening iron so you will have to dry it off with a hair-dryer. Remember to aim the air down the hair shaft to minimize frizz and to make the hair easier to straighten. If your hair is very curly or frizzy, run through it with a paddle brush to smooth the hair out and to help achieve a smoother result once the hair has been ironed.
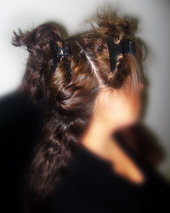
Step 4 - Part your hair into place and then section your hair into 3 sections and leave a 1 inch section out at your nape.
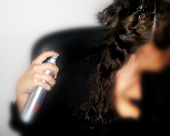
Step 5 - Holding the thermal protection spray approximately 1 inch from your first section, lightly spritz the spray into the hair. Repeat this step in every section before you run the iron through to protect your hair from the harshness of the heat of the iron.
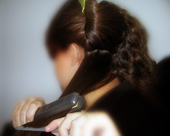
Step 6 - Now it's time to start straightening. Place the comb in your first section at the base of your hair and slightly slide the comb down and place the iron right above it in a horizontal position. Keep sliding the comb and the straightener directly down to the ends of your hair, keeping the hot irons vertical the whole time.
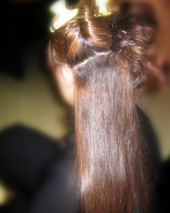
Step 7 - Work your way through the back of your hair remembering to lightly spray thermal protection spray in each section. Once you've completed one section, continue to the other two sections using the same method.
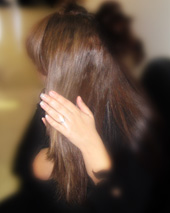
Step 8 - Now that you've finished, apply a drop of smoothing shine into the palms of your hair and then rub them together before dispensing the smoothing shine to the mid-lengths and ends to tame any frizzy bits.
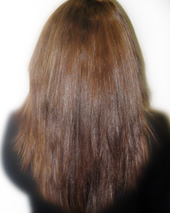
Finished Result!
Creating Curls
Step 1 - Shampoo and condition the hair and then towel dry.

Step 2 - Apply a small amount of straightening balm and a small amount of hair moisturizer to the mid-lengths and the ends of your hair. It's important to make sure that you do not get any straightening balm on your roots as it will be heavy on the hair and will make it look oily. Using your wide tooth comb, comb the hair so there are no tangles.
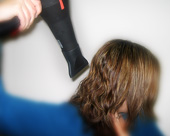
Step 3 - Your hair needs to be dry to use the straightening iron so you will have to dry it off with a hair-dryer. After drying, smooth your hair down with your paddle brush. This will ensure that your strands are as smooth as possible and will give you a better end result.
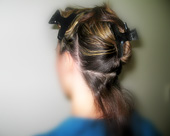
Step 4 - Part your hair into place and then section your hair into 3 sections before leaving a 1 inch thick section out at your nape.
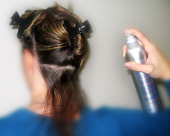
Step 5 - Holding the thermal protection spray about 1 inch from your first section, lightly spray the first section of hair and then repeat in every other section before you run the iron through to protect your hair from iron's harsh heat.
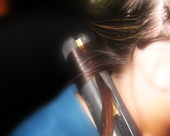
Step 6 - Holding a 1 inch wide section, place the iron vertically at the base, clamping on the hair lightly. Now, start to turn the iron and clamp down with more pressure, letting the hair run through to the ends. If you keep the iron close to the scalp the curls will be fuller.
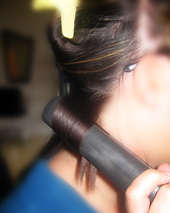
Step 7 - Make your way up the back of your hair, section by section, and then do the side sections in the same 1 inch pattern.
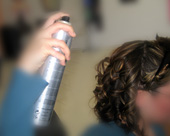
Step 8 - Once you have finished, spray a fine layer of hairspray over the top of your style. For extra shine, apply shine spray as well.
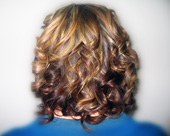
Finished Result!
Practice makes perfect with this one! It will take time to get it right, so persevere.
Creating Flicks

Step 1 - Shampoo and condition the hair and then towel dry.

Step 2 - Apply a small amount of straightening balm and a small amount of hair moisturizer to the mid-lengths and the ends of your hair. It's important to make sure that you do not get any straightening balm on your roots as it will be heavy on the hair and will make it look oily. Using your wide tooth comb, comb the hair so there are no tangles.

Step 3 - Your hair needs to be dry to use the straightening iron so you will have to dry it off with a hair-dryer. Remember to aim the air down the hair shaft to minimize frizz and to make the hair easier to straighten. If your hair is very curly or frizzy, run through it with a paddle brush to smooth the hair out and to help achieve a smoother result once the hair has been ironed.

Step 4 - Part your hair into place and then section your hair into 3 sections and leave a 1 inch section out at your nape.

Step 5 - Holding the thermal protection spray about 1 inch from your first section, lightly spritz the spray into the hair. Repeat this in every section before you run the iron through to protect your hair from the harsh heat of the iron.
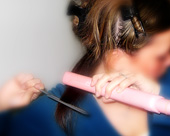
Step 6 - Now it's time to start straightening and flicking. Place the comb in your first section at the base of your hair and slightly slide the comb down and place the iron right above in a horizontal position. Keep sliding the two of them straight down to the ends of your hair, and then once you have reached half way down the hair shaft, start to direction the irons up and into a flicking motion. Repeat this step on each section.
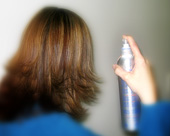
Step 7 - Once you have made your way up to the top of your head, lightly spray the hair with hairspray, followed by shine spray.
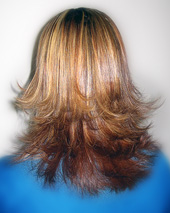
Finished Result!
