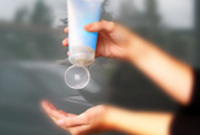
Squeeze a small amount of straightening balm into your palms and then rub your hands together before smoothing the product evenly through damp hair.
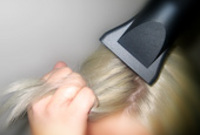
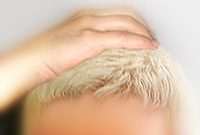
Using your blow-dryer, dry your hair using your fingers, separating the hair and allowing it to dry at the roots first then the mid lengths and then the ends. Making sure the roots are dry first will ensure that your hairstyle does not fall flat.
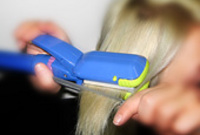
When straightening your hair, first make sure that your hair is completely dry. Then, section your hair off starting from the back/nape using a comb. Straighten your hair starting from the roots and working your way down to the ends using your comb as your guide. Make sure not to leave the straightening iron in one spot for more than 3 seconds. For more information about straightening techniques click here.
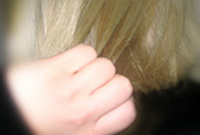
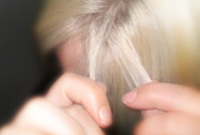
Apply some wax to your fingertips and then pull through the ends of your hair in a downward motion to achieve a sculptured look. Pinch clumps of hair in different directions for a messier result.

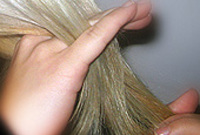
Apply wax to your fingertips and then grip the left section of your hair from the mid-lengths and drag it in a forward and down direction for a wispy and textured result.
Apply wax to your fingertips then drag through your bangs, sweeping the hair to the left as you go. Pinching the ends will create soft texture.
Apply wax to the palms of your hands, and then starting at the top-back area, drag your hands forward, flattening your hair down as you go. For a wetter look use more wax.
Apply a very small amount of smoothing shine to the palms of your hands and then run it through the mid-lengths and ends of your hair. Be careful not to add any to the roots or a large amount to any section of the hair as smoothing shine can be very heavy on the hair, weighing it down and making it appear oily.
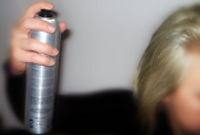
Lacquer is great for strong hold. A small amount is all that is required to finish and should be applied from an arms length distance to the entire style.